Quick Start
Authenticate your first user via the Single Sign-On API.
In this guide, we’ll take you from learning about Single Sign-On and POC-ing all the way through to authenticating your first user via the WorkOS SSO API.
To get the most out of this guide, you’ll need:
- A WorkOS account
- An IdP account from an Identity Provider that WorkOS supports. Reach out if you need help setting up an IdP instance for development
- Connection. A Connection represents the method by which a group of users (typically in a single organization) sign in to your application.
- Profile. A Profile is an object that represents an authenticated user. The Profile object contains information relevant to a user in the form of normalized and raw attributes.
Let's start by building the SSO authentication workflow into your app.
WorkOS offers native SDKs in several popular programming languages. Install the SDK using the command below.
npm install @workos-inc/node
You can also download the workos-node source code from GitHub.
As a best practice, your WorkOS API key should be kept secret and set as an environment variable on process start. The SDK is able to read the key automatically if you store it in an environment variable named WORKOS_API_KEY; otherwise, you will need to set it manually. The Client ID should also be set dynamically based on the release environment.
WORKOS_API_KEY='sk_example_123456789' WORKOS_CLIENT_ID='client_123456789'
The endpoint to initiate SSO via the WorkOS API is responsible for simply handing off the rest of the authentication workflow to WorkOS. There are a couple configuration options shown below.
You can use the optional state parameter to encode arbitrary information to help restore application state between redirects.
Use the connection parameter when authenticating a user by their Connection's ID.
const express = require('express'); const { WorkOS } = require('@workos-inc/node'); const app = express(); const workos = new WorkOS(process.env.WORKOS_API_KEY); const clientID = process.env.WORKOS_CLIENT_ID; app.get('/auth', (_req, res) => { const connection = 'connection_123'; // The Connection's ID const redirectURI = 'https://dashboard.my-app.com/'; // The callback URI WorkOS should redirect to post-authentication const authorizationURL = workos.sso.getAuthorizationURL({ clientID: clientID, redirectURI: redirectURI, connection: connection, }); res.redirect(authorizationURL); });
WorkOS will redirect to your Redirect URI if there is an issue generating an authorization URL. Read our API Reference for more details.
Next, let's add the redirect endpoint which will handle the callback from WorkOS after a user has authenticated with their Identity Provider. This endpoint should exchange the authorization code (valid for 10 minutes) returned by WorkOS with the authenticated user's Profile.
The redirect URI must use HTTPS.
const express = require('express'); const { WorkOS } = require('@workos-inc/node'); const app = express(); const workos = new WorkOS(process.env.WORKOS_API_KEY); const clientID = process.env.WORKOS_CLIENT_ID; app.get('/callback', async (req, res) => { const { code } = req.query; const { profile } = await workos.sso.getProfileAndToken({ code, clientID, }); // Use the information in \`profile\` for further business logic. res.redirect('/'); });
you’ll need to set a redirect URI (i.e. the callback endpoint from Add a callback endpoint) via the WorkOS Dashboard—be sure not to include wildcard subdomains or query parameters.
Wildcard characters in Redirect URIs are supported in Staging environments. More information can be found in the Wildcard Redirect URIs documentation.
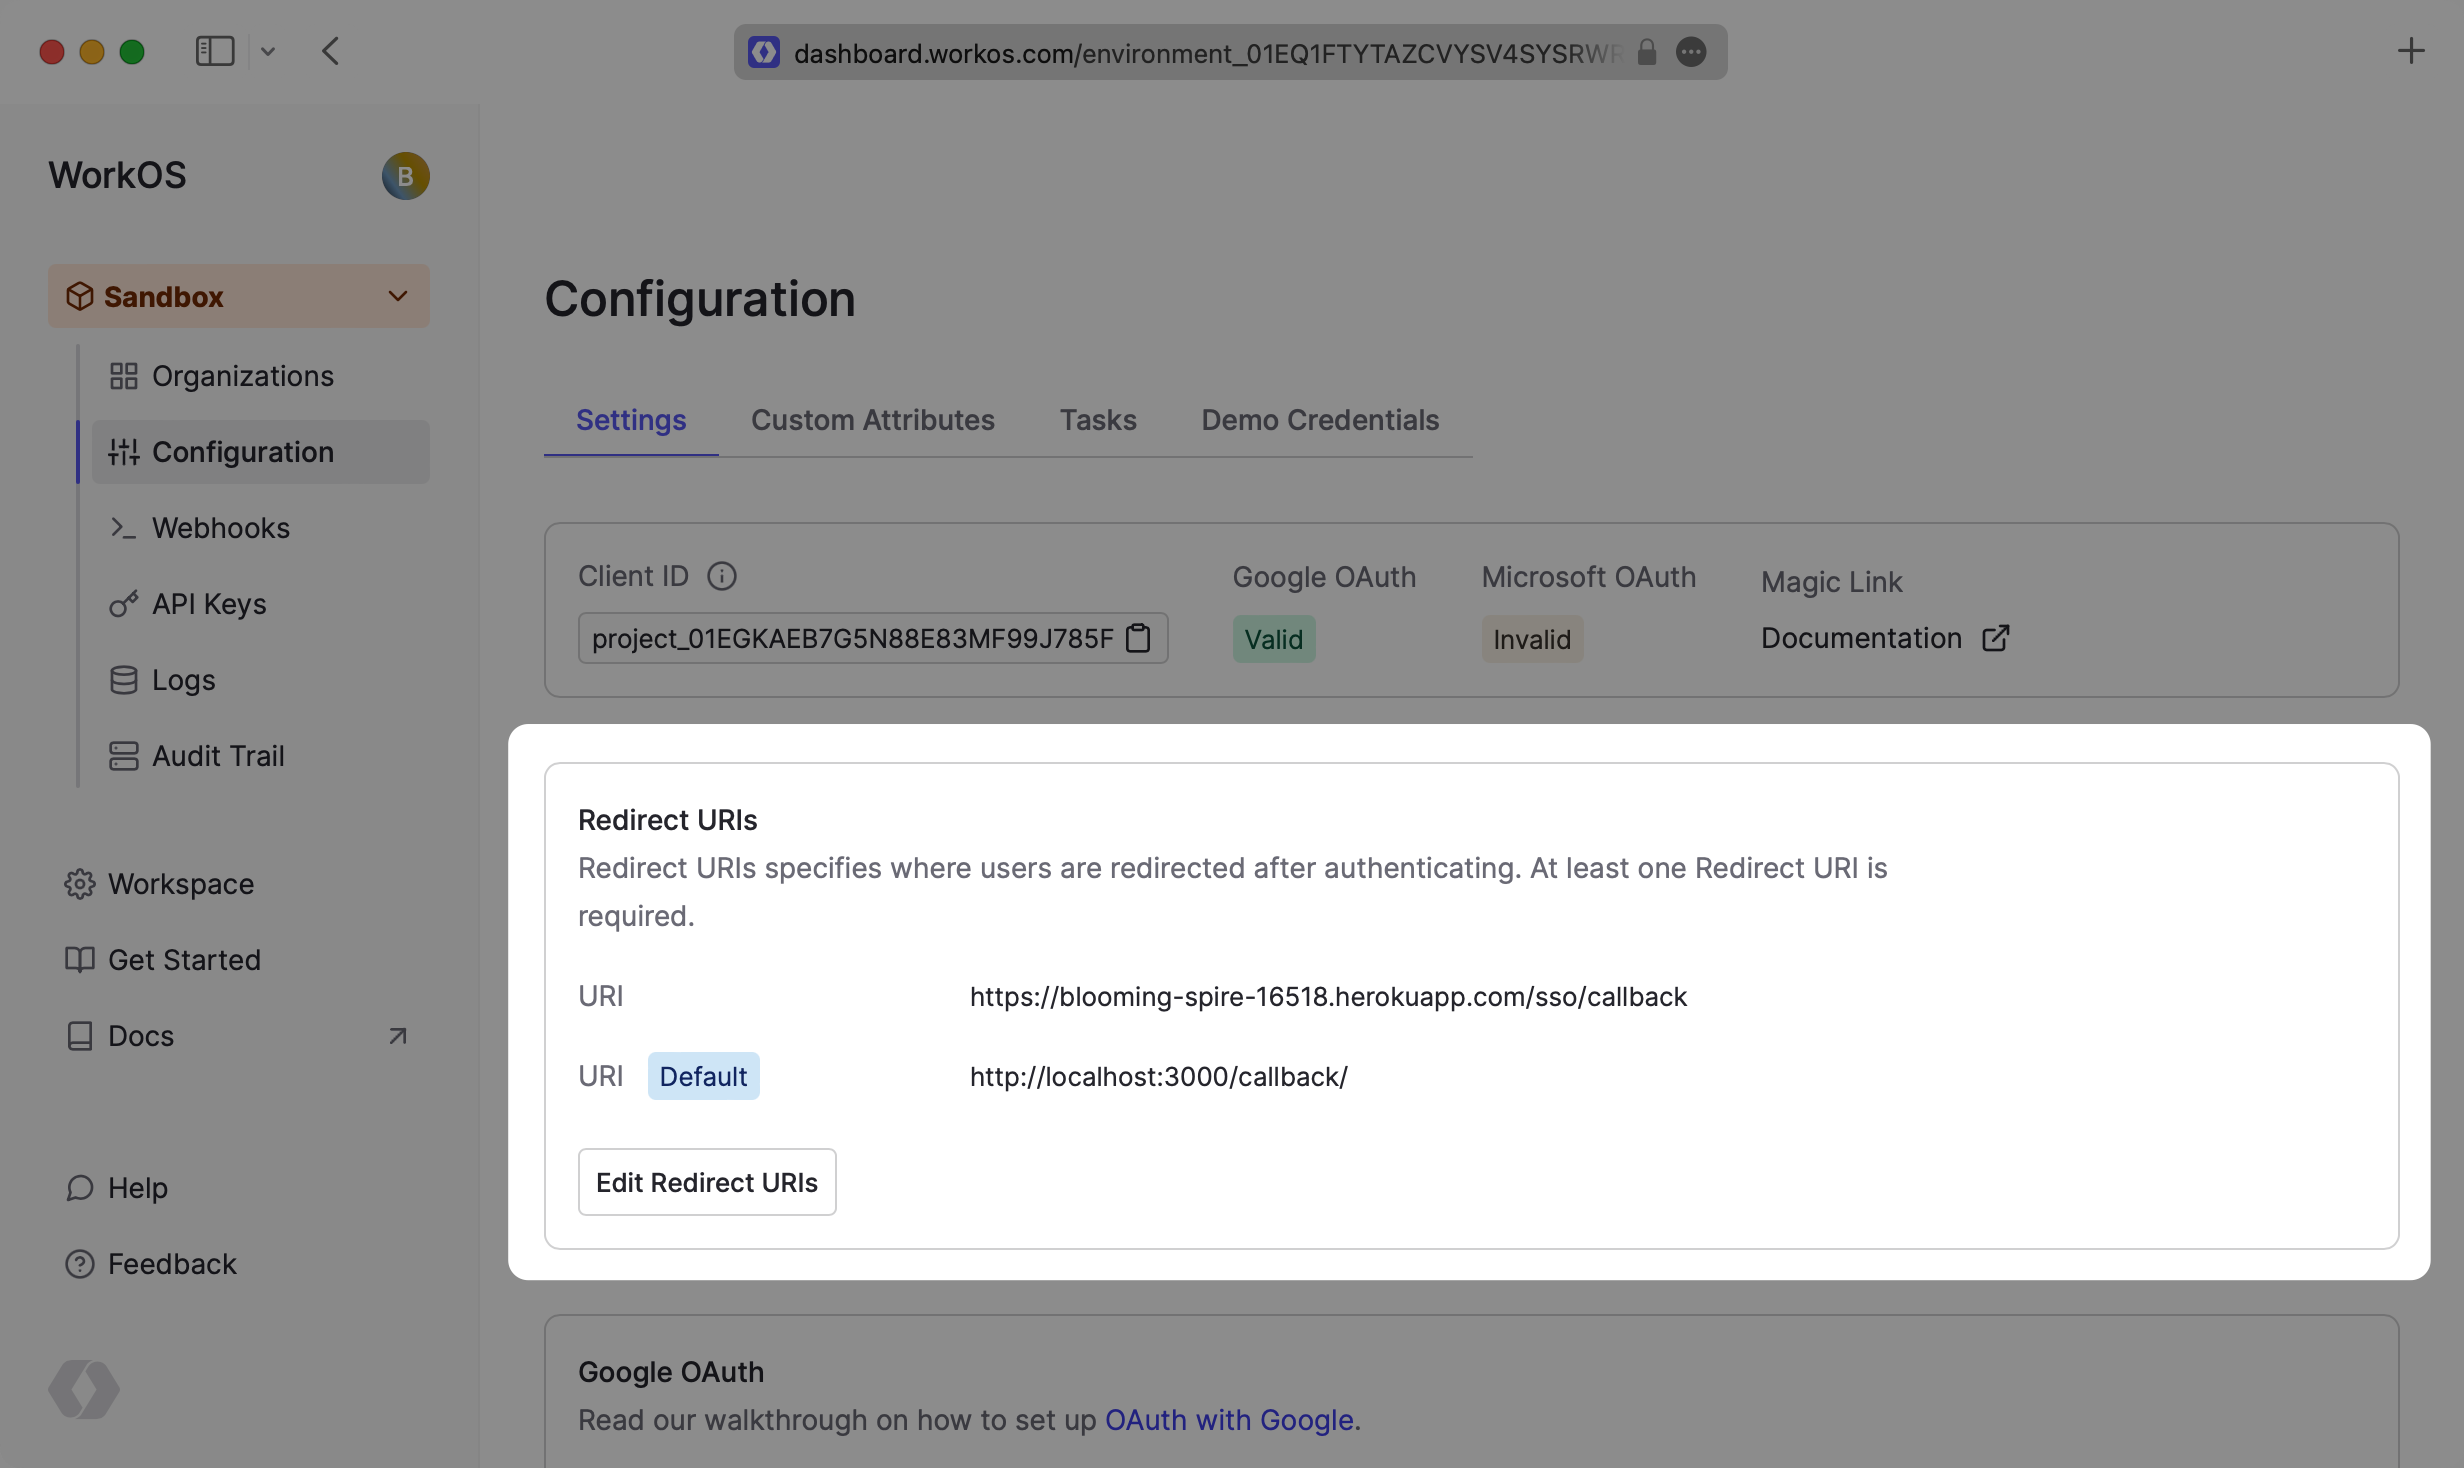
Multi-tenant apps will typically have a single redirect URI specified. You can set multiple redirect URIs for single tenant apps—just be sure to specify which redirect_uri to use in the WorkOS client call to fetch the authorization URL.
In the IdP-initiated authentication flow, the default redirect URI is used.
you’ll need to configure an SSO Connection for every domain, i.e. organization, that wants to authenticate via SSO. Connections can be configured in the WorkOS Dashboard. Let's start by creating one for development in your Sandbox Project—get provider specific instructions by selecting the Identity Provider you’re planning to use from the list below.
Add the WorkOS Admin Portal to your app to enable your users to create and configure SSO Connections themselves.
Once your Connection is successfully created and linked, it's ready to start being used to authenticate users!